DIY: Fringe Photo Garland
Home  /  Design Ideas   /  DIY: Fringe Photo Garland
DIY: Fringe Photo Garland

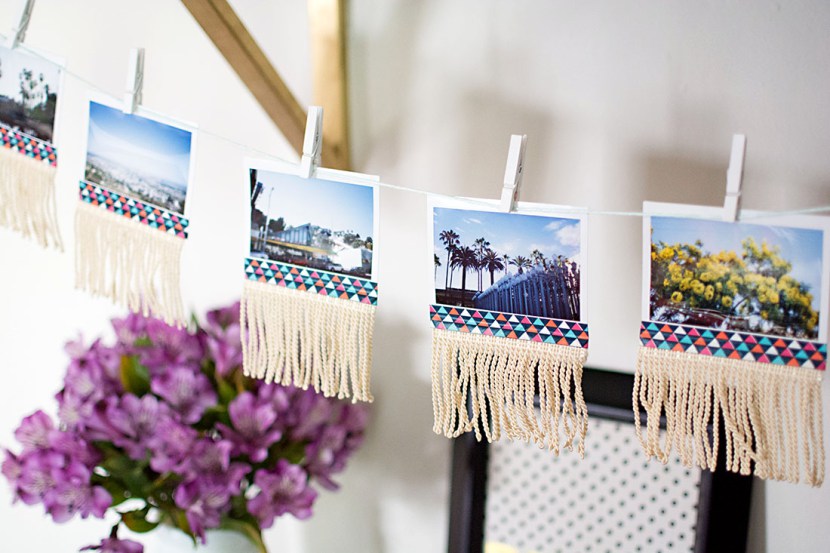
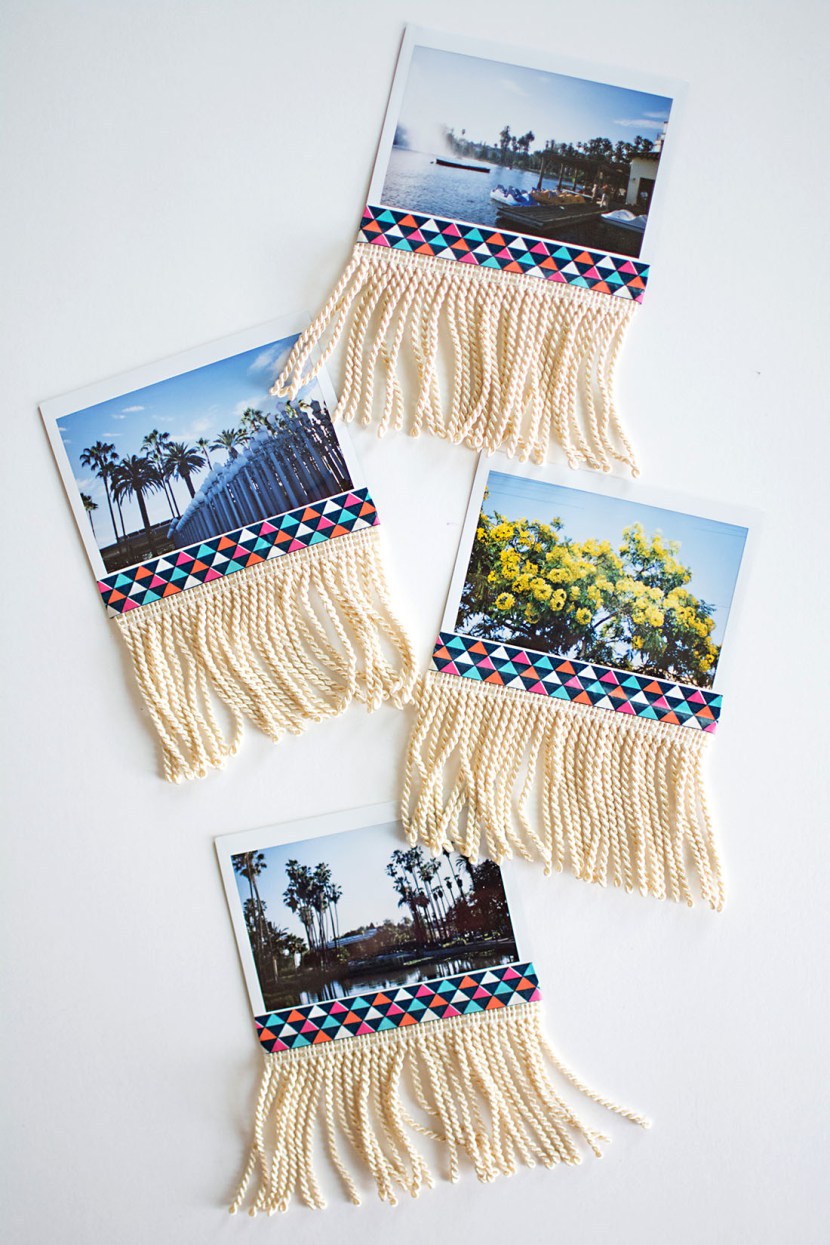
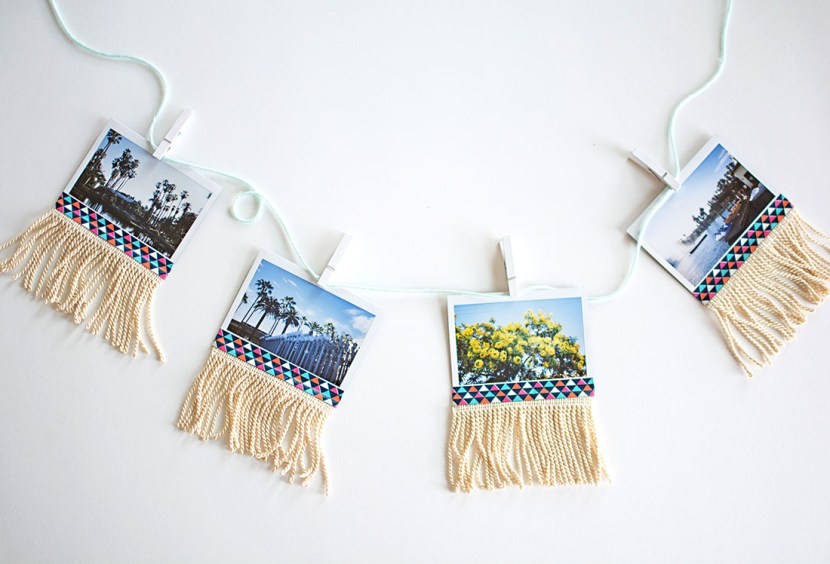
Adding a personal touch to your home decor can be easily achieved through DIY projects. A fringe photo garland is a simple and creative way to display your favorite memories. In this blog post, we’ll guide you through the steps to create your own DIY fringe photo garland.
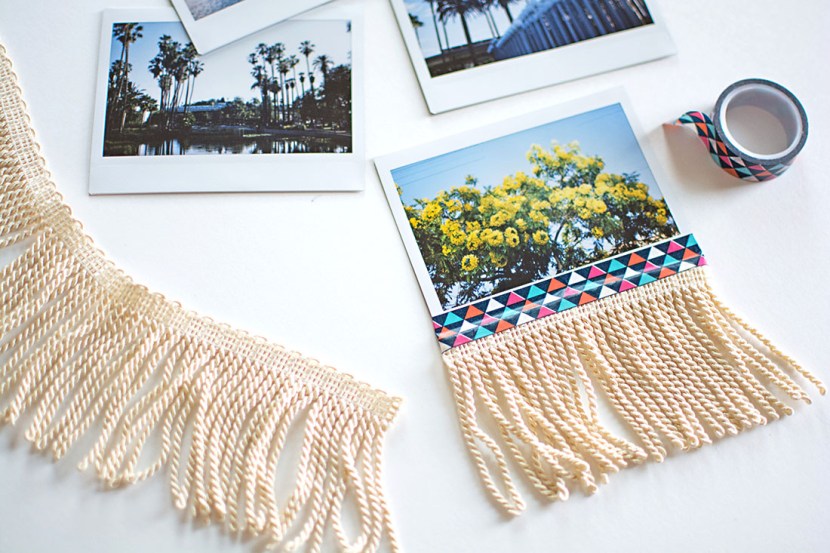
Materials

  • photos
  • fringe trim
  • scissors
  • washi tape
  • yarn
  • clothespins


DIY: Fringe Photo Garland
Step 1: Cut the fringe trim to the exact width of each photo.

DIY: Fringe Photo Garland
Step 2: Use Washi tape to attach the fringe to the bottom of each photo.

DIY: Fringe Photo Garland
Step 3: Attach the photos with clothespins to a long strand of yarn.

Source: Pottery Barn Blog

We will inform you when the product arrives in stock. Please leave your valid email address below.
Shopping cart0
There are no products in the cart!
0
Select an available coupon below