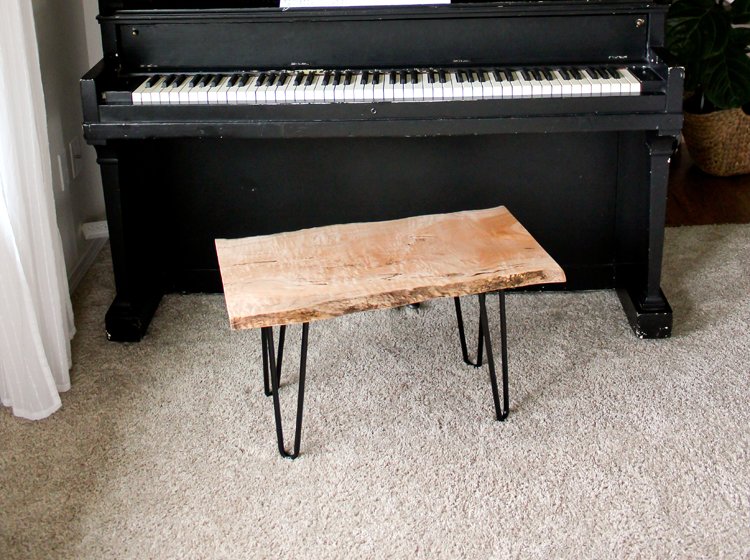
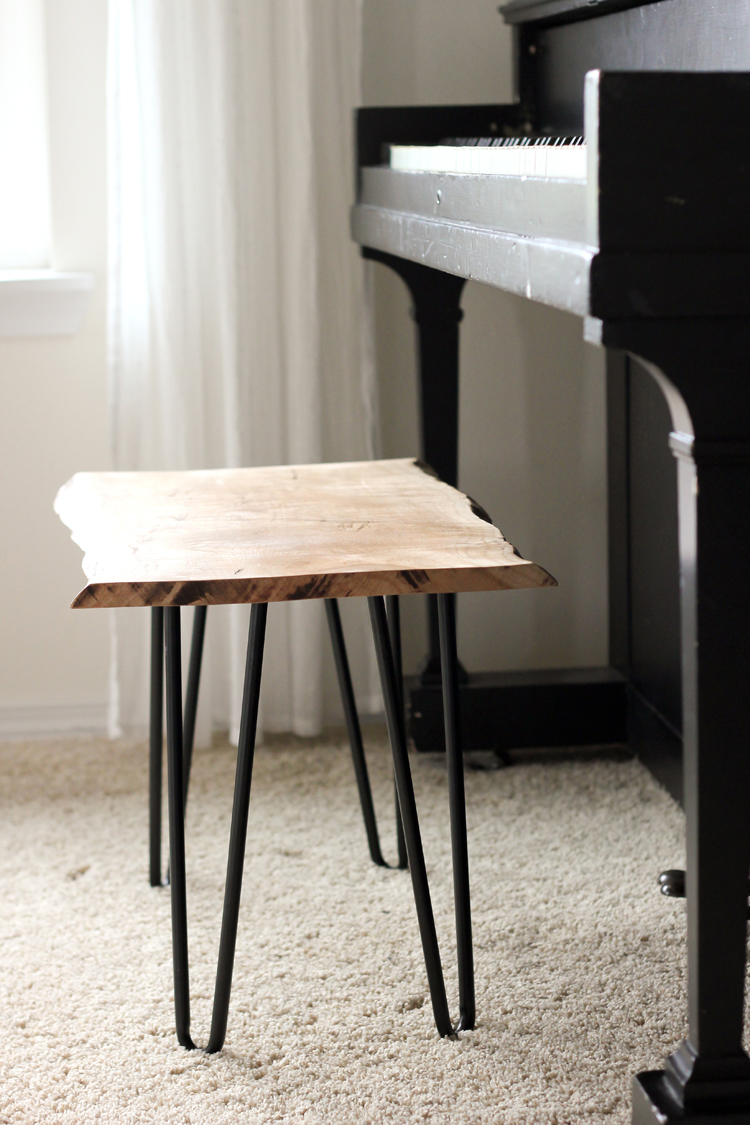
Adding a bench to your home decor is a great way to create a cozy and comfortable space. A hairpin wood bench is a simple and stylish piece that can be easily customized to match your decor. In this blog post, we’ll guide you through the steps to create your own DIY hairpin wood bench.
Of course, I know live edge wood slabs are probably not easy to come by everywhere and definitely not for cheap. You could totally adapt this tutorial and use plywood like I did for our dining table, or some stained pine. You could even recreate your own faux live edge like Hunted Interior did (here).
MATERIALS
- Wood piece at least 3/4 inches thick, 28 inches long and 16 inches wide*
- Four hairpin legs **
- Machine screws ( I used 8 screws, 5/8 inches long)
- Locking washers
- Power drill/screwdriver
- 80 and 120 grit sandpaper (hand or mouse sander)
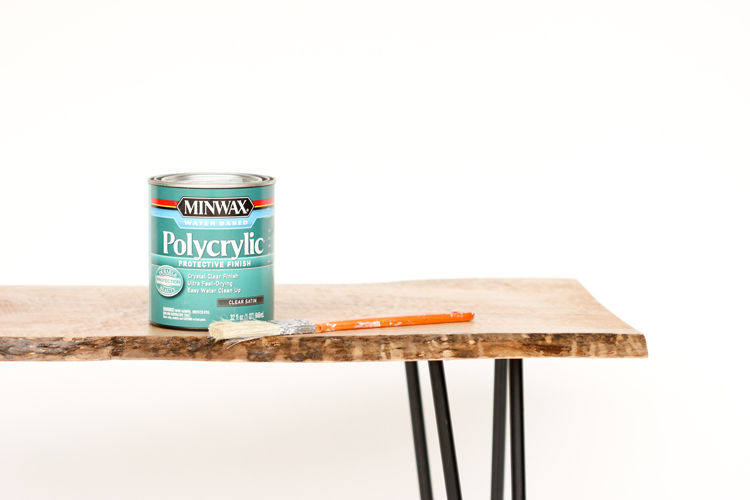
- Poly-crylic and paintbrush
*My wood slab varied from 14-16 inches wide.
**For my legs, I ordered this bench off Amazon ditched the top piece and just used the legs. They are not solid steel, but they have held up great and are very sturdy. The stool used to be around $30, and now it’s $40. Boo. Still, $10 (including shipping!) for 16″ high hairpin legs is at least $5-10 less than you can get elsewhere.
STEP ONE: Let your wood dry
Live wood holds a lot of moisture, which is why it is so much heavier right after it’s cut. You need to let it dry out before you use it, so it won’t grow mold or rot. If you are using lumber from the store, it is likely already pretty dry. If you are getting it freshly cut, chances are you need to let it dry out for a month or two. Whomp, whomp. I know that can be a downer to hear that when you’re chomping at the bit to get it done, but trust me, it’s worth it to not have your wood warp, shrink and possibly rot later.
If your wood does grow mold on the surface, as it dries out, don’t worry! Clean it, and sand it away before it becomes too much of a problem. I had to do the same.
STEP TWO: Sand until smooth
Using 80 grit sandpaper, sand away the bark (if you want) and all the major imperfections, top and bottom. Then go over the top with 120 grit until it feels smooth like butta…
The sides/ends of my wood slab have burn marks from the saw blade. You can sand those away, but I like them, so I kept them.
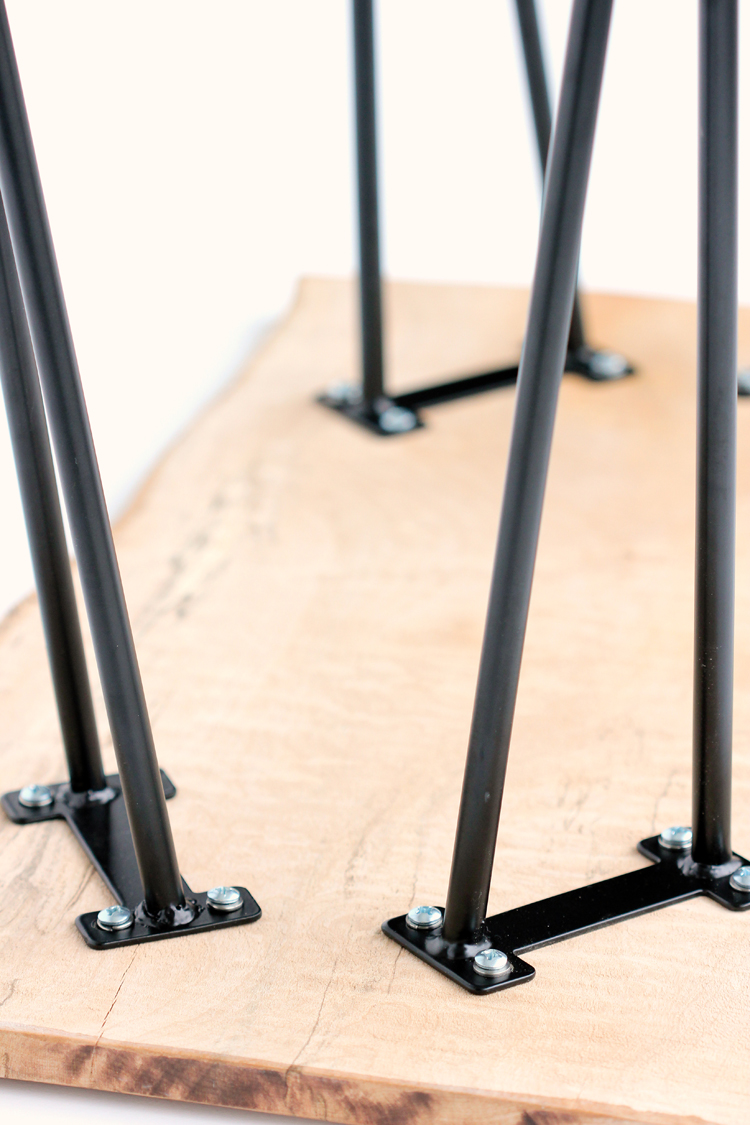
STEP THREE: Attach the legs
Position the legs as desired, and screw them in with the locking washers and screws. If you need more instruction on this, I have another tutorial for a coffee table made in a similar fashion (here).
Be sure to get screws that are a just bit shorter than the width of your bench. Even then, the screws will be stacked up against the leg base and the locking washer.
TIP:My trick to using the power driver, if you are of small stature, like me :), is to lean in with your body weight while you drive the screws in. If you don’t, you risk stripping the screws.

STEP FOUR: Clear coat the wood
Of course, you can do this step before attaching the legs. I like to do this last, so that the bench already has it’s own legs to rest on while it cures.
Apply several coats of Poly-crylic, according to the can instructions, to the top and sides (I also like to get a little bit of the underside all the way around for good measure). I love Poly-crylic because it dries and cures so quickly with minimal off gassing!

Source: Delia Creates