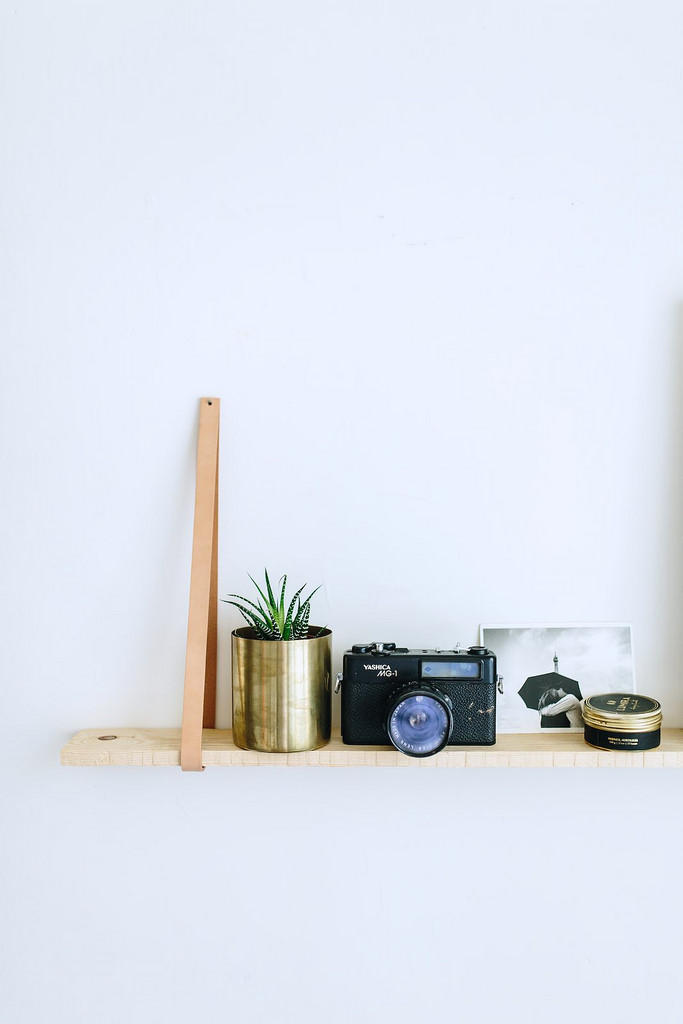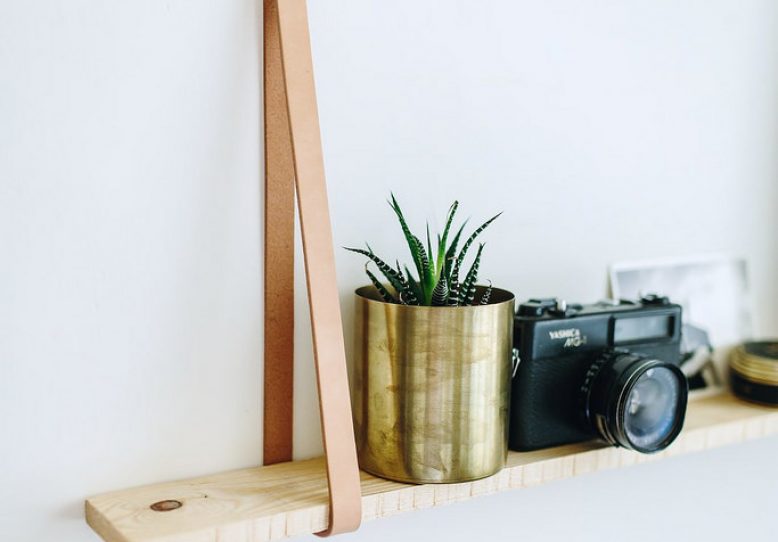
If you’re looking for a simple and stylish way to add some storage space to your home, look no further than hanging leather shelves. These shelves are easy to make and can be customized to fit your space and decor. In this post, we’ll guide you through the steps to create your own DIY hanging leather shelves.
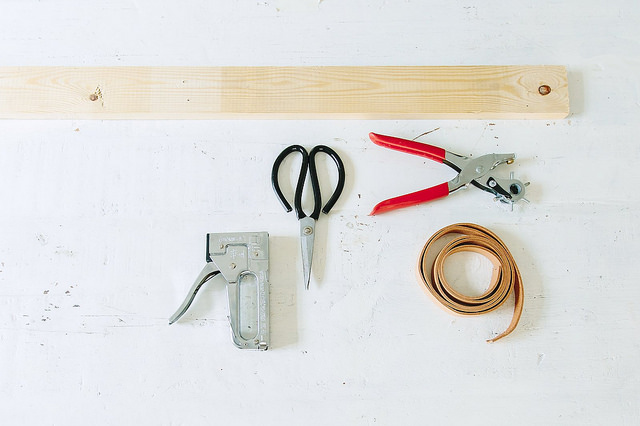
Materials Needed:
- A plank of wood (or plywood measuring about 12 x 107cm or 5″x 42″)
- Staple gun
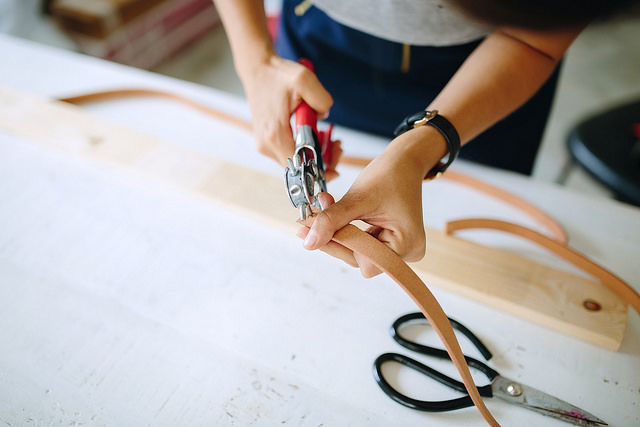
- Leather strap (or an old belt about 1.6m or 1.7yd in length)
- Leather hole punch
- Scissors
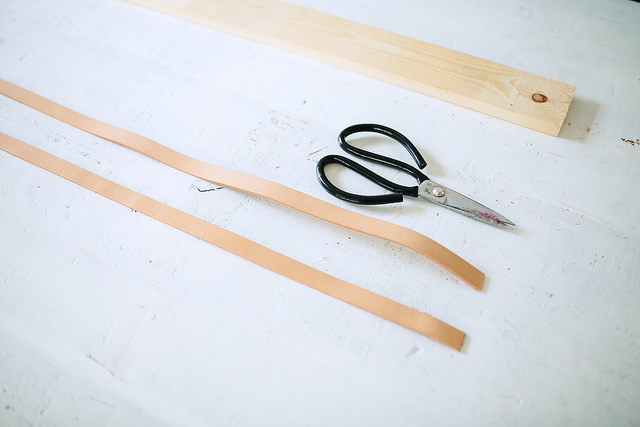
Step One
Cut two lengths of leather measuring 75cm (18 in) long. You can make this longer or shorter depending on how far down you want the shelf to hang.
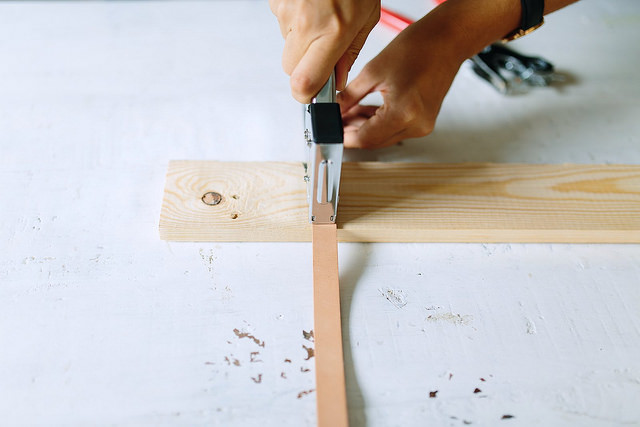
Step Two
Using the leather hole punch, make two holes on either end of the leather strap.
Step Three
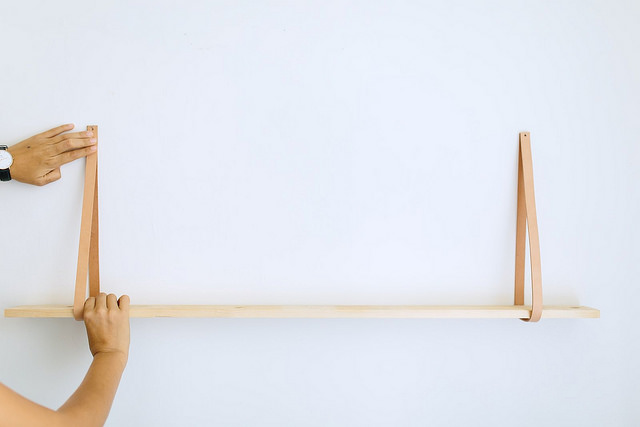
Now you’re going to secure the leather straps to the shelves so they are nice and study. To check where to do this, you can hang the leather straps to the wall and slide the plywood into the straps adjusting the wood until it is balanced. Then, mark the position of the wood on the leather and remove from the wall. Using the markings on the leather as a guide, secure the leather strap to the underside of the plywood using the staple gun.
Step Four
Hang the finished shelf onto the wall. You may have to adjust the straps a little if they are off – the front one will be longer than the back one so dont worry if you have to adjust it. To adjust, simply add a new hole in the front leather strap and trim the excess.