Home and interior DIY projects can be an excellent starting point for those who are interested in the world of crafting but may not feel quite ready to tackle a full-fledged fashion project like making their own dress. One of the great things about home projects is that they offer an opportunity to create something functional and beautiful that you can admire every day, such as a new ladder wardrobe or hanging shelves. Unlike a piece of clothing, which might only be seen when you wear it, a home DIY project is out in the open for everyone to enjoy.
However, it’s understandable to feel a bit intimidated by home projects, especially if you’re not used to working with tools. The idea of picking up a drill and making holes in your walls can be daunting, but trust me, it’s not as difficult as it might seem! One way to ease into home improvement projects is to start with something super easy that takes only a few minutes to complete, like making a coat rack.
A coat rack is a simple yet practical addition to any home. It’s a place to hang your coat or jacket when you come in the door, and it can also serve as a decorative element in your entryway or hallway. Best of all, making a coat rack is a quick and easy project that doesn’t require a lot of tools or materials. You can use a piece of reclaimed wood, an old drawer handle, or even some colorful knobs to create a coat rack that’s unique and stylish.
To make a basic coat rack, all you need is a piece of wood, some screws, and some hooks or knobs. You can use a drill to make holes in the wood and attach the hooks or knobs, or you can use adhesive strips or glue to attach them. If you want to add some color to your coat rack, you can paint or stain the wood before adding the hooks or knobs.
Once you’ve made your coat rack, you can enjoy the satisfaction of having created something useful and beautiful for your home. And who knows? Maybe this simple project will inspire you to tackle more challenging home improvement projects in the future!
Materials
- 4 or 5 dowels (these are pretty much broom stick handles and can be bought at your local hardware store.)
- a length of leather cord
- scissors
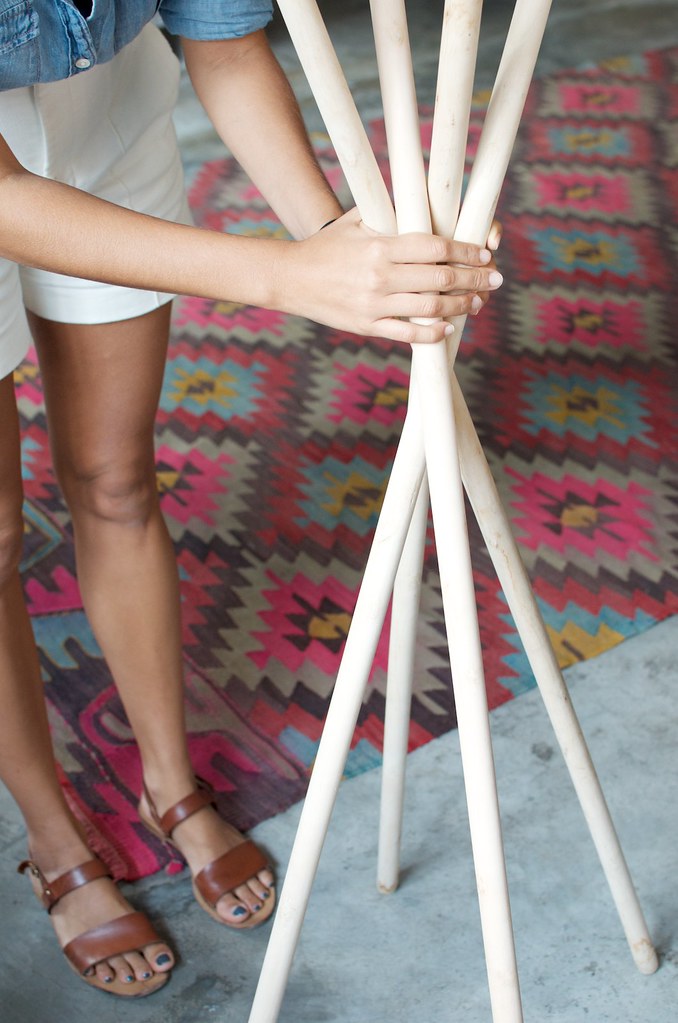
Step One
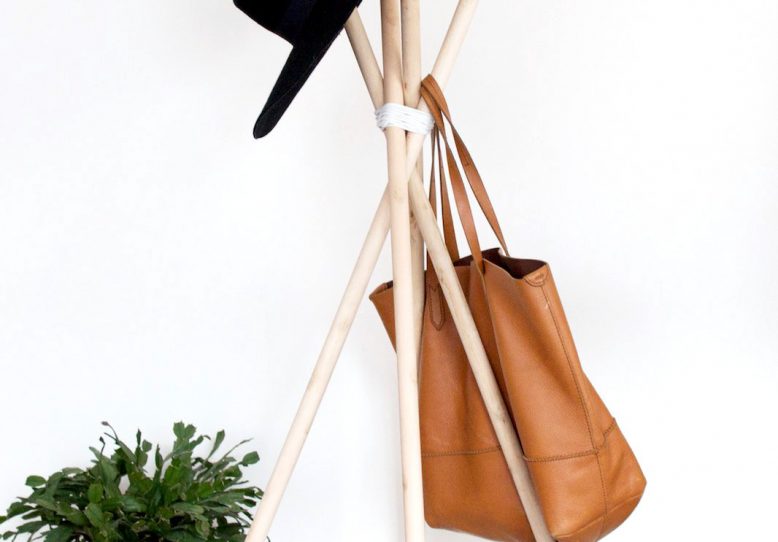
Start by holding your dowels all together and arranging them into a teepee shape crossing them over about a foot down from the top so you have somewhere to hand your hat and bag.
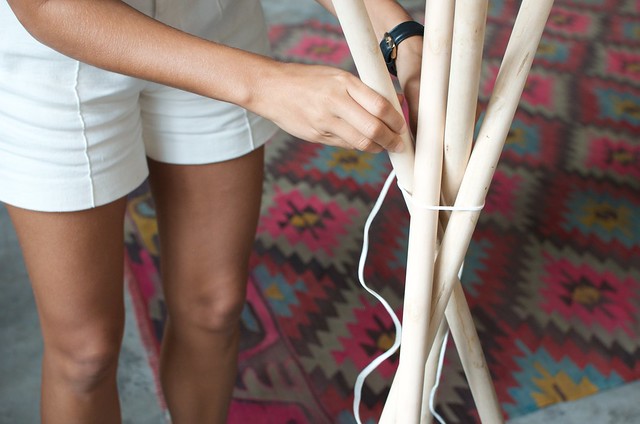
Step Two
Once you’ve got your shape organised (and yes it’s a bit awkward and you’ll probably drop them a few times but whatever), start wrapping with your leather cord.
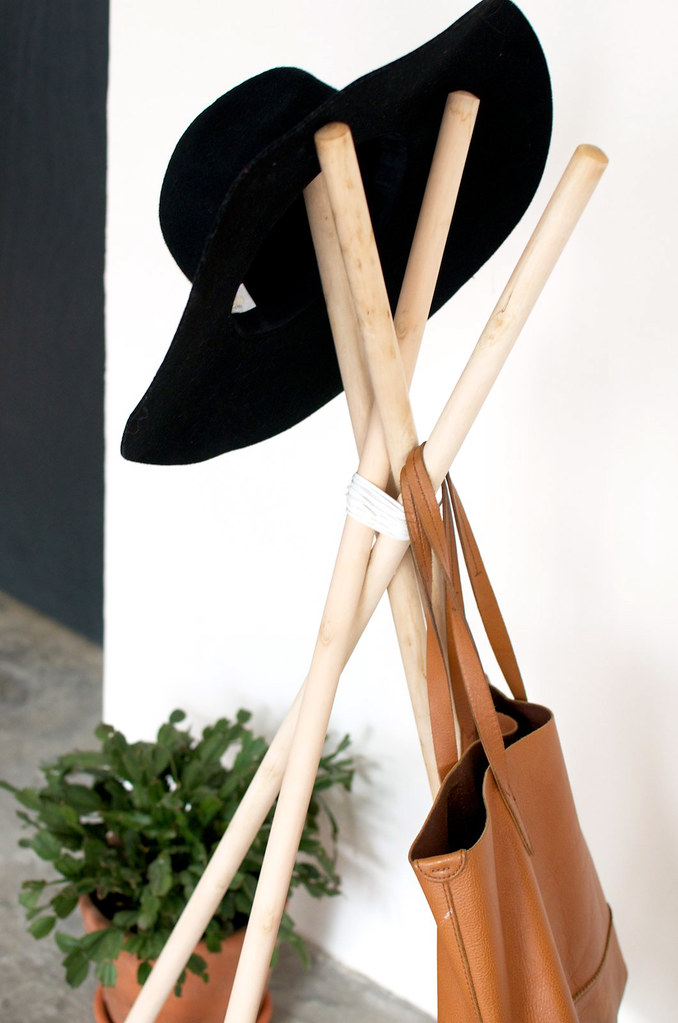
Step Three
Wrap around and around until making sure to do it tightly until you’ve secured them all together. You want to make sure they all stayed crossed over as you do this.
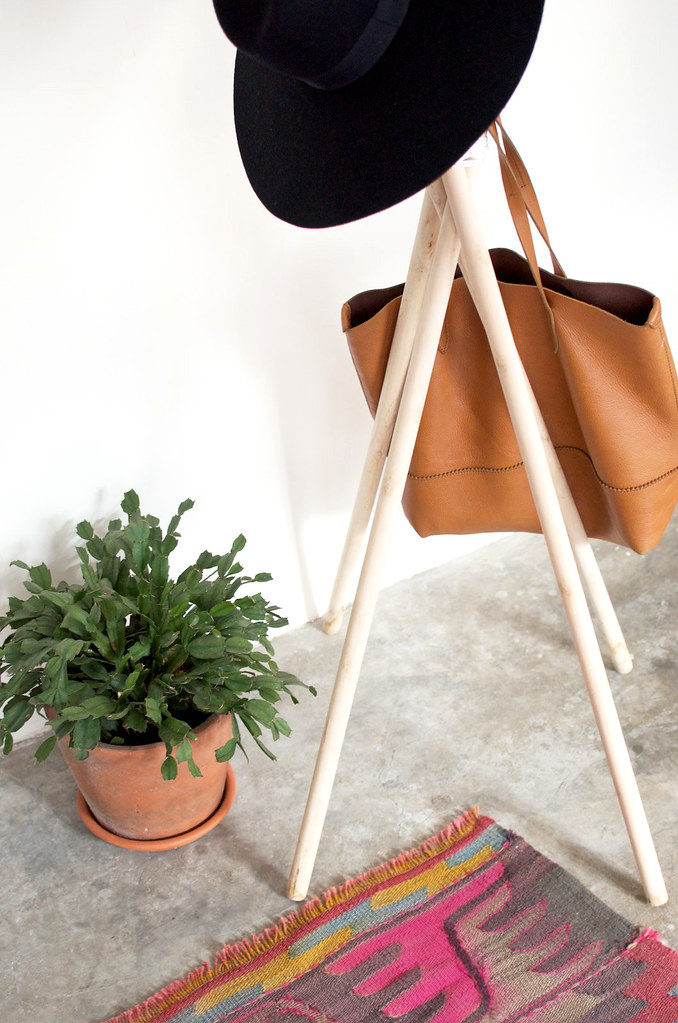
Step Four
Once you’ve finished wrapping, tie off the cord and snip and extra you don’t need. Hide the ends of the cord inside the wrapping. You’ll notice the cord has a small amount of give in it allowing you to adjust the angles of the dowels if you need to. And that’s it, all done!
Source: A Pair and Spare