Printing digital artwork can be a challenging task, but with the right tools and techniques, it can be a rewarding process. By following these six steps, you can ensure that your digital artwork is printed with the highest quality and displayed in the best possible way. Whether you are a professional artist or a hobbyist, printing digital artwork is a great way to showcase your creativity and share your work with the world.

PRINTING
Now obviously these prints require a little more work before you can hang them up and enjoy them, but it’s worth it for the price in my opinion.
AT HOME
This is of course your easiest option but probably only doable if you’re printing a small print. I recommend getting some standard card stock for your printer and you’ll be good to go. But please take note, some printers are super cheap, but cost blood and tears when you try to get extra ink. This industry is notorious for ripping people off in this way. So avoid printers that are too cheap (especially the $20 printers calling for your wallet at Walmart). I have made those mistakes, so to save you, I did an extensive research on various places to find printers that meet all the mentioned criteria. I found great two printers for less then $100 to recommend.

228

60
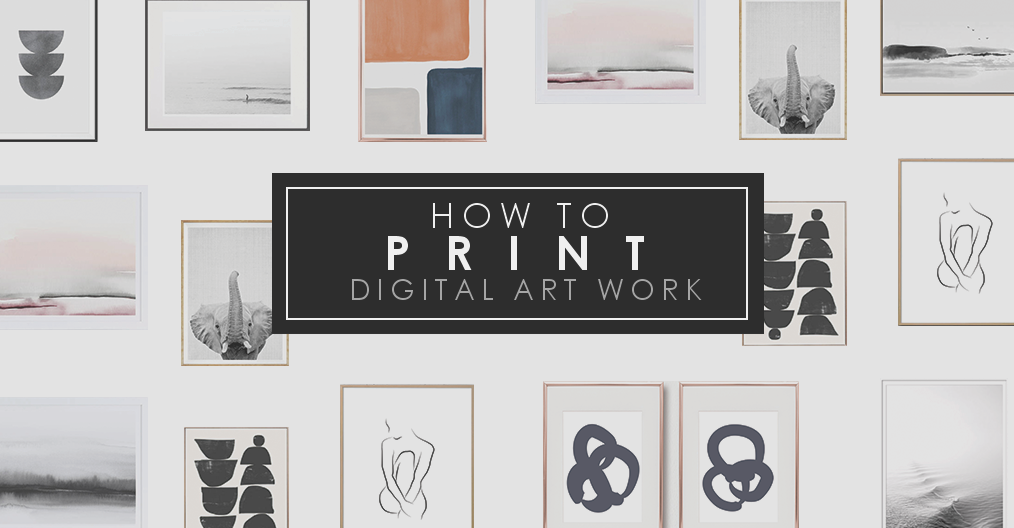
Printing Digital Artwork: A Step-by-Step Guide
Digital artwork has become increasingly popular in recent years, with many artists choosing to create their pieces using digital tools. However, once the artwork is complete, many artists struggle with how to print it. Printing digital artwork can be a daunting task, but with the right tools and techniques, it can be a simple and rewarding process. In this article, we will provide a step-by-step guide on how to print digital artwork.
Step 1: Choose the Right Printer
The first step in printing digital artwork is to choose the right printer. There are many different types of printers available, each with its own strengths and weaknesses. When choosing a printer, consider the type of artwork you will be printing, the size of the prints you need, and your budget.
For most digital artwork, a high-quality inkjet printer is the best choice. Inkjet printers are capable of producing vibrant colors and sharp details, making them ideal for printing digital artwork. However, if you need to print large-scale artwork, a wide-format printer may be necessary.
Step 2: Calibrate Your Monitor
Before printing your artwork, it is important to calibrate your monitor. This ensures that the colors on your screen match the colors that will be printed. To calibrate your monitor, use a color calibration tool or software. This will help you adjust the brightness, contrast, and color settings on your monitor to ensure accurate color representation.
Step 3: Choose the Right Paper
The type of paper you choose can have a significant impact on the quality of your prints. When printing digital artwork, it is important to choose a high-quality paper that is compatible with your printer. There are many different types of paper available, including glossy, matte, and fine art papers.
Glossy paper is ideal for printing photographs and artwork with vibrant colors. Matte paper is better suited for artwork with subtle colors and fine details. Fine art paper is a high-quality paper that is ideal for printing museum-quality artwork.
Step 4: Adjust Your Printer Settings
Once you have chosen the right printer and paper, it is time to adjust your printer settings. This will ensure that your artwork is printed with the correct color and detail settings. When adjusting your printer settings, consider the type of paper you are using, the size of the print, and the desired quality.
Some important printer settings to consider include the print resolution, color management, and paper type. Adjusting these settings will help you achieve the best possible print quality.
Step 5: Print Your Artwork
Once you have calibrated your monitor, chosen the right printer and paper, and adjusted your printer settings, it is time to print your artwork. Before printing, make sure that your printer is properly connected to your computer and that you have enough ink and paper.
When printing, it is important to use the correct print settings and to monitor the printing process closely. This will help you catch any errors or issues before they become a problem.
Step 6: Frame Your Artwork
Once your artwork is printed, it is time to frame it. Choosing the right frame can enhance the beauty of your artwork and protect it from damage. When choosing a frame, consider the style of your artwork, the size of the print, and your budget.
Printing digital artwork can be a challenging task, but with the right tools and techniques, it can be a rewarding process. By following these six steps, you can ensure that your digital artwork is printed with the highest quality and displayed in the best possible way. Whether you are a professional artist or a hobbyist, printing digital artwork is a great way to showcase your creativity and share your work with the world.
LOCAL PRINT SHOP
Your local print shop should be able to print any size for you at a reasonable price. Tip – if you’re printing more than one print, arrange them in the same document to save some money!
STAPLES
Staples is my go to for large black and white prints. You can order “engineering prints” online that are SO cheap. An 18×24 starts at $1.79, a 24×36 starts at $3.59 and a 36×48 starts at $7.29. They will also do color large scale printing but it just costs a little more.
FRAMING
Once you’ve got your print, there’s still a little more work to do. You could always leave it frameless and hang it from an old vintage hanger or another type of DIY frame. But there are some affordable options out there too.
What I like about them is that you can email them a digital file, or you can mail them a physical print. Either way, you choose your frame and matting options and they do the rest.
Similar to Framebridge with options of sending in digital files or an actual print with free shipping both ways. Sizes range from 8×10 to 30×40.
Craft Stores
I’ve framed a lot of prints on my own by just picking up a frame at Michaels, Hobby Lobby, A.C. Moore or Pat Catans. They also offer custom framing but sometimes it can be pricey. Some stores will just cut a mat for you if want your print to look a little more sophisticated. You can buy it from the store for a couple bucks and they might charge another couple bucks for a cutting fee.