The original designer, Henry Glass, believed you should “make the most with the least,” which would make a great mantra for the DIY movement of today. If you want to learn more, I found THIS article to be a great quick read.
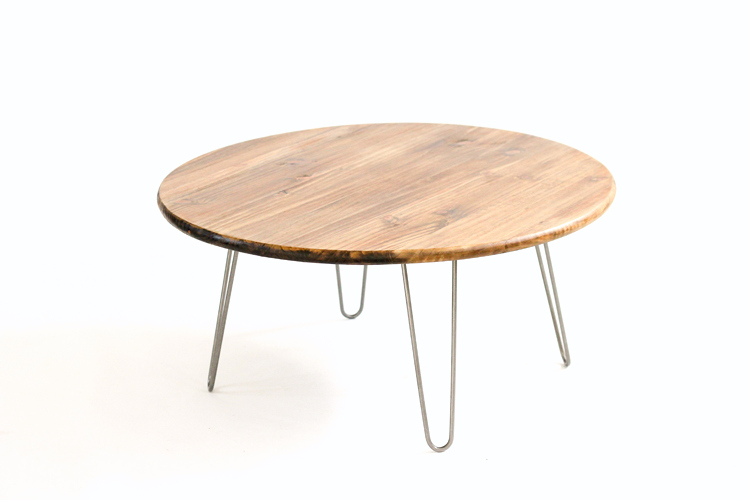
Praise to Henry Glass for creating something so sturdy, so aesthetically pleasing, and reusable to boot! With three kids running around, it’s comforting to know that they really can’t break these legs, and that if the top gets ruined, I can simply replace it.
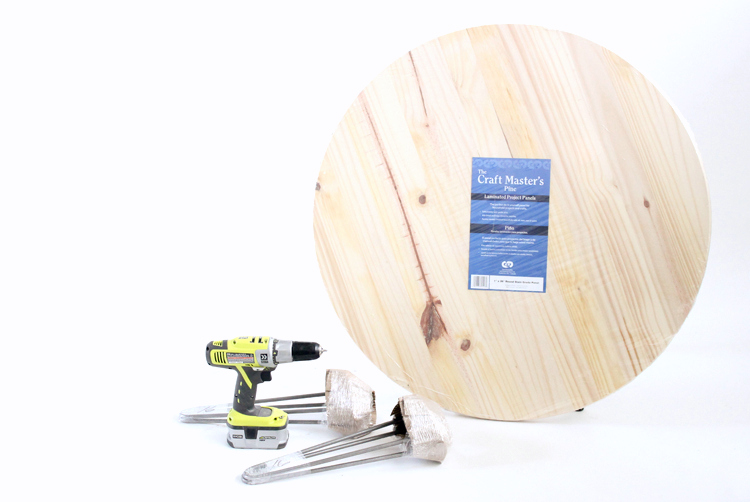
MATERIALS
- Pine wood round from Lowe’s (3 ft. diameter)
- *Hairpin steel legs
- Denatured alcohol
- Steel wool
- Spray paint clear coat enamel
- Wood stain of choice
- Clear coat finish for wood
- High quality paint brush
- 80 and 120 grit sand paper
- **3/4 inch machine screws
- Split ring locking washers
- Power screwdriver
- Measuring tape
- Pencil
*Most coffee tables are about 16-18 inches in height. Choose legs that are 16 inches in height to accommodate the table top. I chose very similar legs to these from Amazon (my original listing is no longer available but the look and cost is almost identical). The shipping is free (!) which is a nice bonus since these legs are heavy. Affiliate Link: Narrow Hairpin Legs, Multiple Sizes, 3/8″ Solid Steel, Set of Four (4) (16 inches)
**The pine rounds from Lowe’s come at about 1 inch thick. If you factor in the height of the leg top and the locking washers, 3/4 inch screws are just the right height. I recommend machine screws, because although you are screwing them into wood, the tapered heads of wood screws don’t fit through hairpin leg tops as well as machine screws.
STEP ONE: Prepare hairpin legs.
If you order the hairpin legs with a raw steel finish, as I did, then you will need to clean them before you use them. Wipe them down with some steel wool and denatured alcohol and then wipe it clean and dry with an old towel.
STEP TWO: Stain table top.
Sand your table table really well, especially the sides, which will be fairly rough.
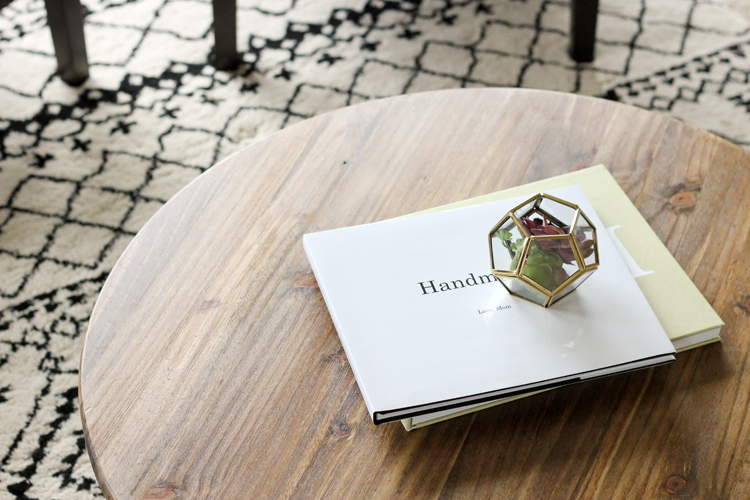
Stain your table top as desired. I started out using Minwax’s Dark Walnut on the bottom of my table, but I found it to be too dark, so I switched to Minwax Golden Oak mixed with a little bit of Dark Walnut.
Note: the sides of the table may have knots and variations in the wood that will affect how well it absorbs the stain. You can apply a primer to ensure even color, but I like how the variety makes it look unique and natural.
Let it dry completely.
STEP THREE: Finish table top.
Lightly sand the table top with 120 grit sand paper, wipe away the sawdust and apply a clear coat. I used Varathane Triple Thick because it’s held up so well on our dining table, but Miniwax’s Polycrylic would do just fine too. I used it on our kitchen cabinets with great success.
Be sure to let the clear finish cure for as long as the can dictates. This not only allows the finish to properly harden, but it also allows the fumes to dissipate before you bring it inside. If the finish still smells a little strong after the full curing time, I have found that a gentle wipe down with soap, water, and a dry towel can help as well.
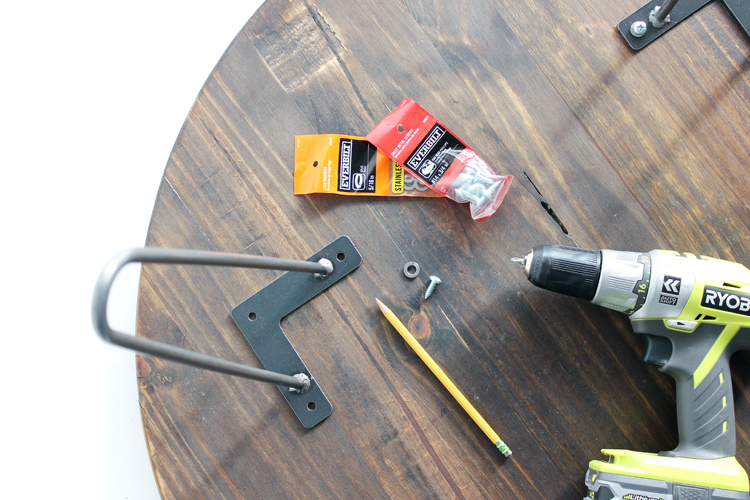
STEP FOUR: Attach legs.
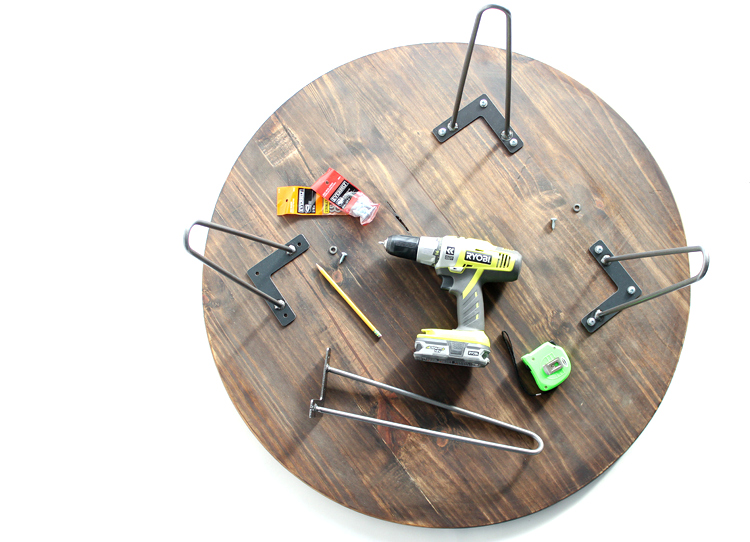
Once your table top is entirely dry and finished, measure out a square on the underside of the table top, for your leg placement. You don’t want your legs too close to the edge or too close to the center. I found that in between those two extremes was a good balance for aesthetics and function. My leg top corners are about 4-5 inches away from the edge.
Once you decide your leg placement, use your measuring tape to ensure they are evenly spaced from each other and centered on the table. Be sure to measure the legs from all angles. And measure twice (trust meeeee ;)). Then mark the holes of the leg tops with pencil. This helps you keep everything lined up perfectly as you work.
With the table top face down on a clean, stable surface, screw the legs in.
Place a split ring locking washer over the hairpin leg hole, and then screw the machine screws in until tight.
TIP: If you have a small frame, like me, it helps to go slow and lean in with as much of your weight as possible.
Be sure to check your pencil markings as you go, to ensure that they line up with your leg base holes.
And thats it!
Source: Delia Creates